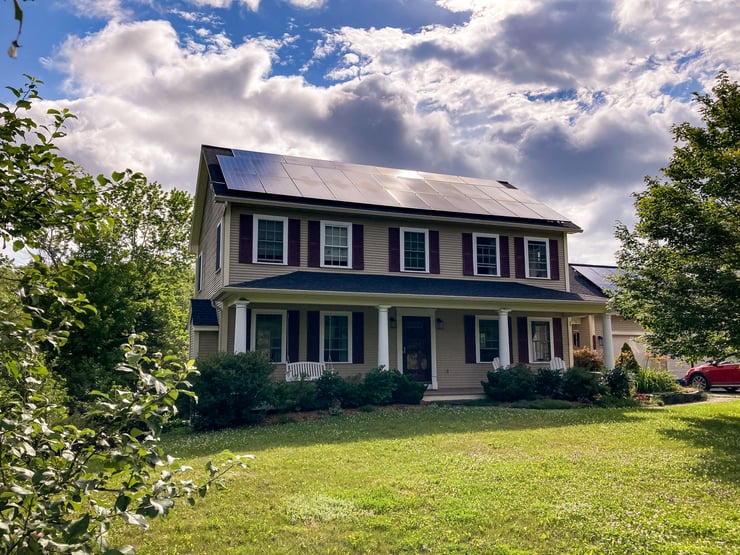
Home improvement projects require a lot of planning and preparation, which can be stressful for homeowners. At Green Mountain Solar, we streamline the entire solar transition process, ensuring a seamless experience for our customers. In this guide, we outline the journey of working with us for your solar installation, providing a clear roadmap of what to expect at each stage from your initial site visit to the post-install overview.

1. Complimentary In-Person Site Visit
An in-person site visit is the first step that we always recommend when going solar. Just as you would meet with your general contractor before they install a new kitchen in your home, it is crucial to meet the team who will be responsible for climbing up on your roof and installing solar panels!
We always come on site to introduce ourselves and our company, take the required roof and site measurements, and calculate your solar access. We’ll evaluate your site to be able to provide a carefully thought out and well-designed proposal. We’ll also answer any questions you may have on the process of going solar with us! Check out the details on the site visit, here.
2. Pre-Install Logistics
If you decide to work with us following your site visit, you will receive a project proposal outlining the system's design. Upon design approval, you will be asked to sign a Project Agreement and submit your initial deposit. Additionally, we will ask for a full electric bill including your account information and meter number.
We also send over a photo release form, which if signed, gives us permission to use photos of your array for marketing. At this stage in the process, you can let us know of any notes we should pass on to our install team about the project.
3. Permitting
Once all necessary information is gathered, our Project Team proceeds with the permitting process tailored to your municipality's requirements. Depending on your location and proposal, electrical and building permits may be necessary, which we will adjust accordingly. When the permit has been approved, you will be contacted by someone on our team to schedule your installation day!
4. Pre-Install Preparation
You will receive a pre-installation check list to help you prepare for the big day. We request the path to the installation area is clear and that there are no vehicles in the driveaway.
If you’re getting a ground-mount, our team will come a few days prior to your installation to dig a trench for the wiring. This can take one or two days depending on how much digging needs to be done.
5. Installation Day
On the day of your installation, you can expect our team to arrive to your home in the morning. We will give you a time estimate for our arrival ahead of the installation day. The team will introduce themselves to you before getting to work. If you have any questions or concerns, this would be the time to address them.
If you’re getting a roof mount installed, the installers will take the necessary safety protocols before getting on your roof. For both a ground mount and a roof mount, we’ll need access to your electrical breakers.
You can expect there to be noise for a few hours during the installation. Depending on how many panels are in your array, your installation might take multiple days.
6. Informational Overview
The process will come full circle with a final visit from your Solar Advisor for an informational overview. During this time, your advisor will show you how to use the Enphase Enlighten app to monitor your energy production, answer any questions you have, and evaluate your system to make sure it’s working properly. Your advisor will also snap some photos, which you might see in on our social media or website if you signed the photo release!
As you can see, we make going solar simple! So, sit back, relax, and get excited to reap the benefits of your new solar system. Even after the flip has been switched on and our work is done, you can always contact us with questions about your system or inquiries about other products we install. You know where to find us!

Leave a Comment